 .
. 
Get Started
- Bob Swift
- Automation User
On this page
After you have installed the add-on using UPM
- Create a new page
- Use Insert -> Markup
- Copy the following markup to the dialog, modify to your Confluence environment, and then hit enter
- Press Preview to see the results (avoid saving the page, see next steps below)
{cli:product=confluence|server=https://<your Confluence server>|user=<your Confluence user id>|password=<your Confluence user password>}
--action getServerInfo
{cli}
The result should look similar to this
Confluence version: 5.5.0, build: 5609, url: https://bobswift.atlassian.net/wiki
Next steps
We recommend setting up a profile in your add-on configuration to store your server, user, and password information for security and re-use.
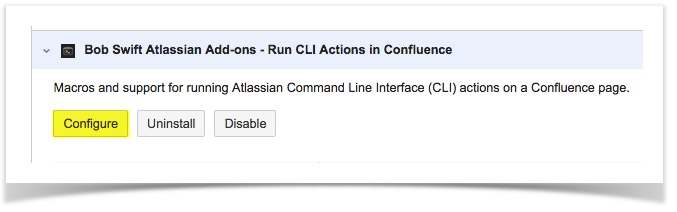
- Go to UPM
- Find the CLI add-on
- Press Configure
- Add a profile entry with the details of your server environment - see the following picture
- Now use {cli:profile=my-profile-entry} instead in the steps above (or use the Macro browser to modify your original example)
Profiles
Profiles allow administrators to save commonly used parameter sets for easy maintenance. This is especially important for accessing servers including server addresses, user ids, and passwords. Furthermore, by putting user ids and passwords in profiles, the password cannot be seen by normal users, only administrators that have access to add-on configuration can view the configuration.
It is important to understand the Security considerations for using profiles.
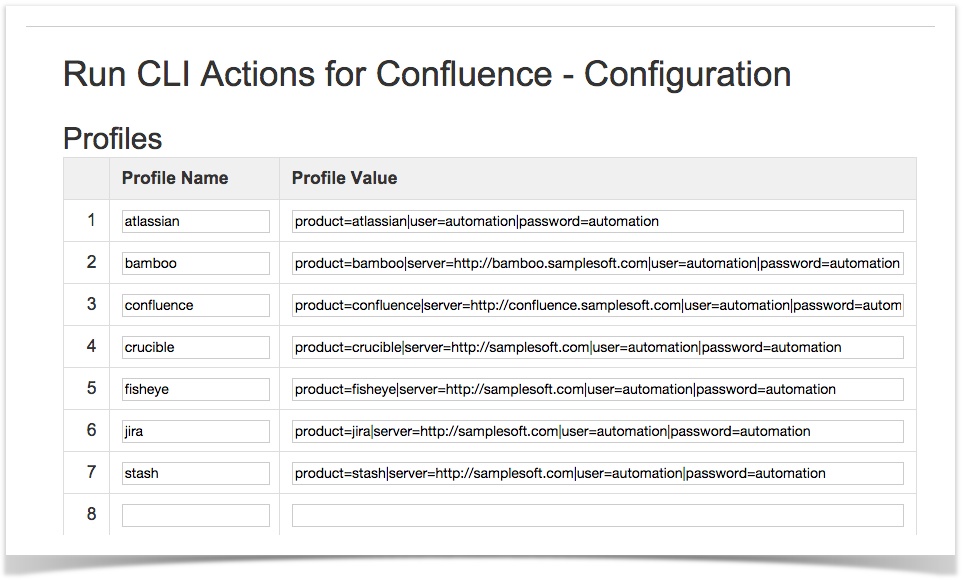
| Profile Name | Used as the reference by the profile parameter |
|---|---|
| Profile Value | Parameter values in wiki format - a pipe (|) separated list of key value pairs where the key is a parameter name from the CLI Macro parameter list. |
Local Server
Use server=%base_url% in the profile to reference the current Confluence system. %base_url% can also be used in actions.
Security
The above section explains how to avoid putting passwords on pages. However, the configured profile can be used by anyone that can edit content on your site. If all you users are trusted, then you are good. However, in most cases you will want to restrict access to a group of users that are trusted to use this capability. This is accomplished by using Macro Security for Confluence and configuring access to the macro and perhaps to individual profiles. Go to the documentation for Macro Security for more information.
Related content

Log a request with our support team.
Confluence®, Jira®, Atlassian Bamboo®, Bitbucket®, Fisheye®, and Atlassian Crucible® are registered trademarks of Atlassian®
Copyright © 2005 - 2024 Appfire | All rights reserved. Appfire™, the 'Apps for makers™' slogan and Bob Swift Atlassian Apps™ are all trademarks of Appfire Technologies, LLC.