Quick Start Guide
- Former user (Deleted)
- Alex Smith
- Vitalii Zurian (Inactive) (Deactivated)
After Installation
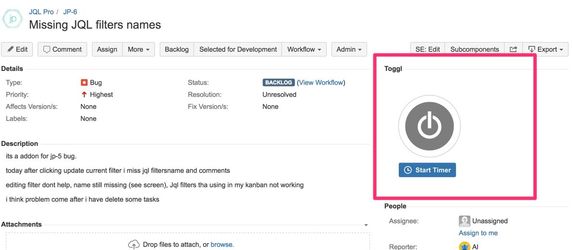
A section with Toggl integration will appear in the right sidebar of the Issue Detail View:

Usage
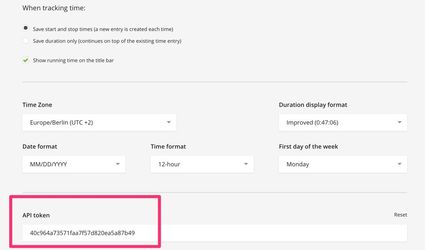
Insert your API key
In order to enable integration, you have to insert your API key. You can find this key in the profile page (https://toggl.com/app/profile) of Toggl:
Toggle Toggl 
After that, Toggl integration is ready for use. Hit the Start button to start tracking time. Hit Stop to convert it to worklog
Using Desktop/Mobile Toggl app
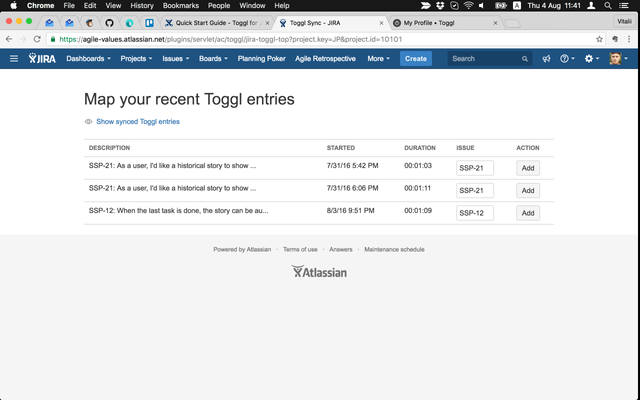
It is possible to sync time entries from your Toggl account with JIRA worklogs.
Using Desktop/Mobile Toggl app? No problem! Just go to the Toggl Sync view (from the top menu):

Suggested workflow
- Manage time with Toggl Desktop/Mobile App
- Make sure you name your time entries starting with the issue key (XXX-NN) followed by a colon (e.g. NCG-2012: some description)
- Once or twice in a week go to Toggl Sync in JIRA and sync all entries with JIRA worklogs. Most of them will be synced automatically, once you visit that page.
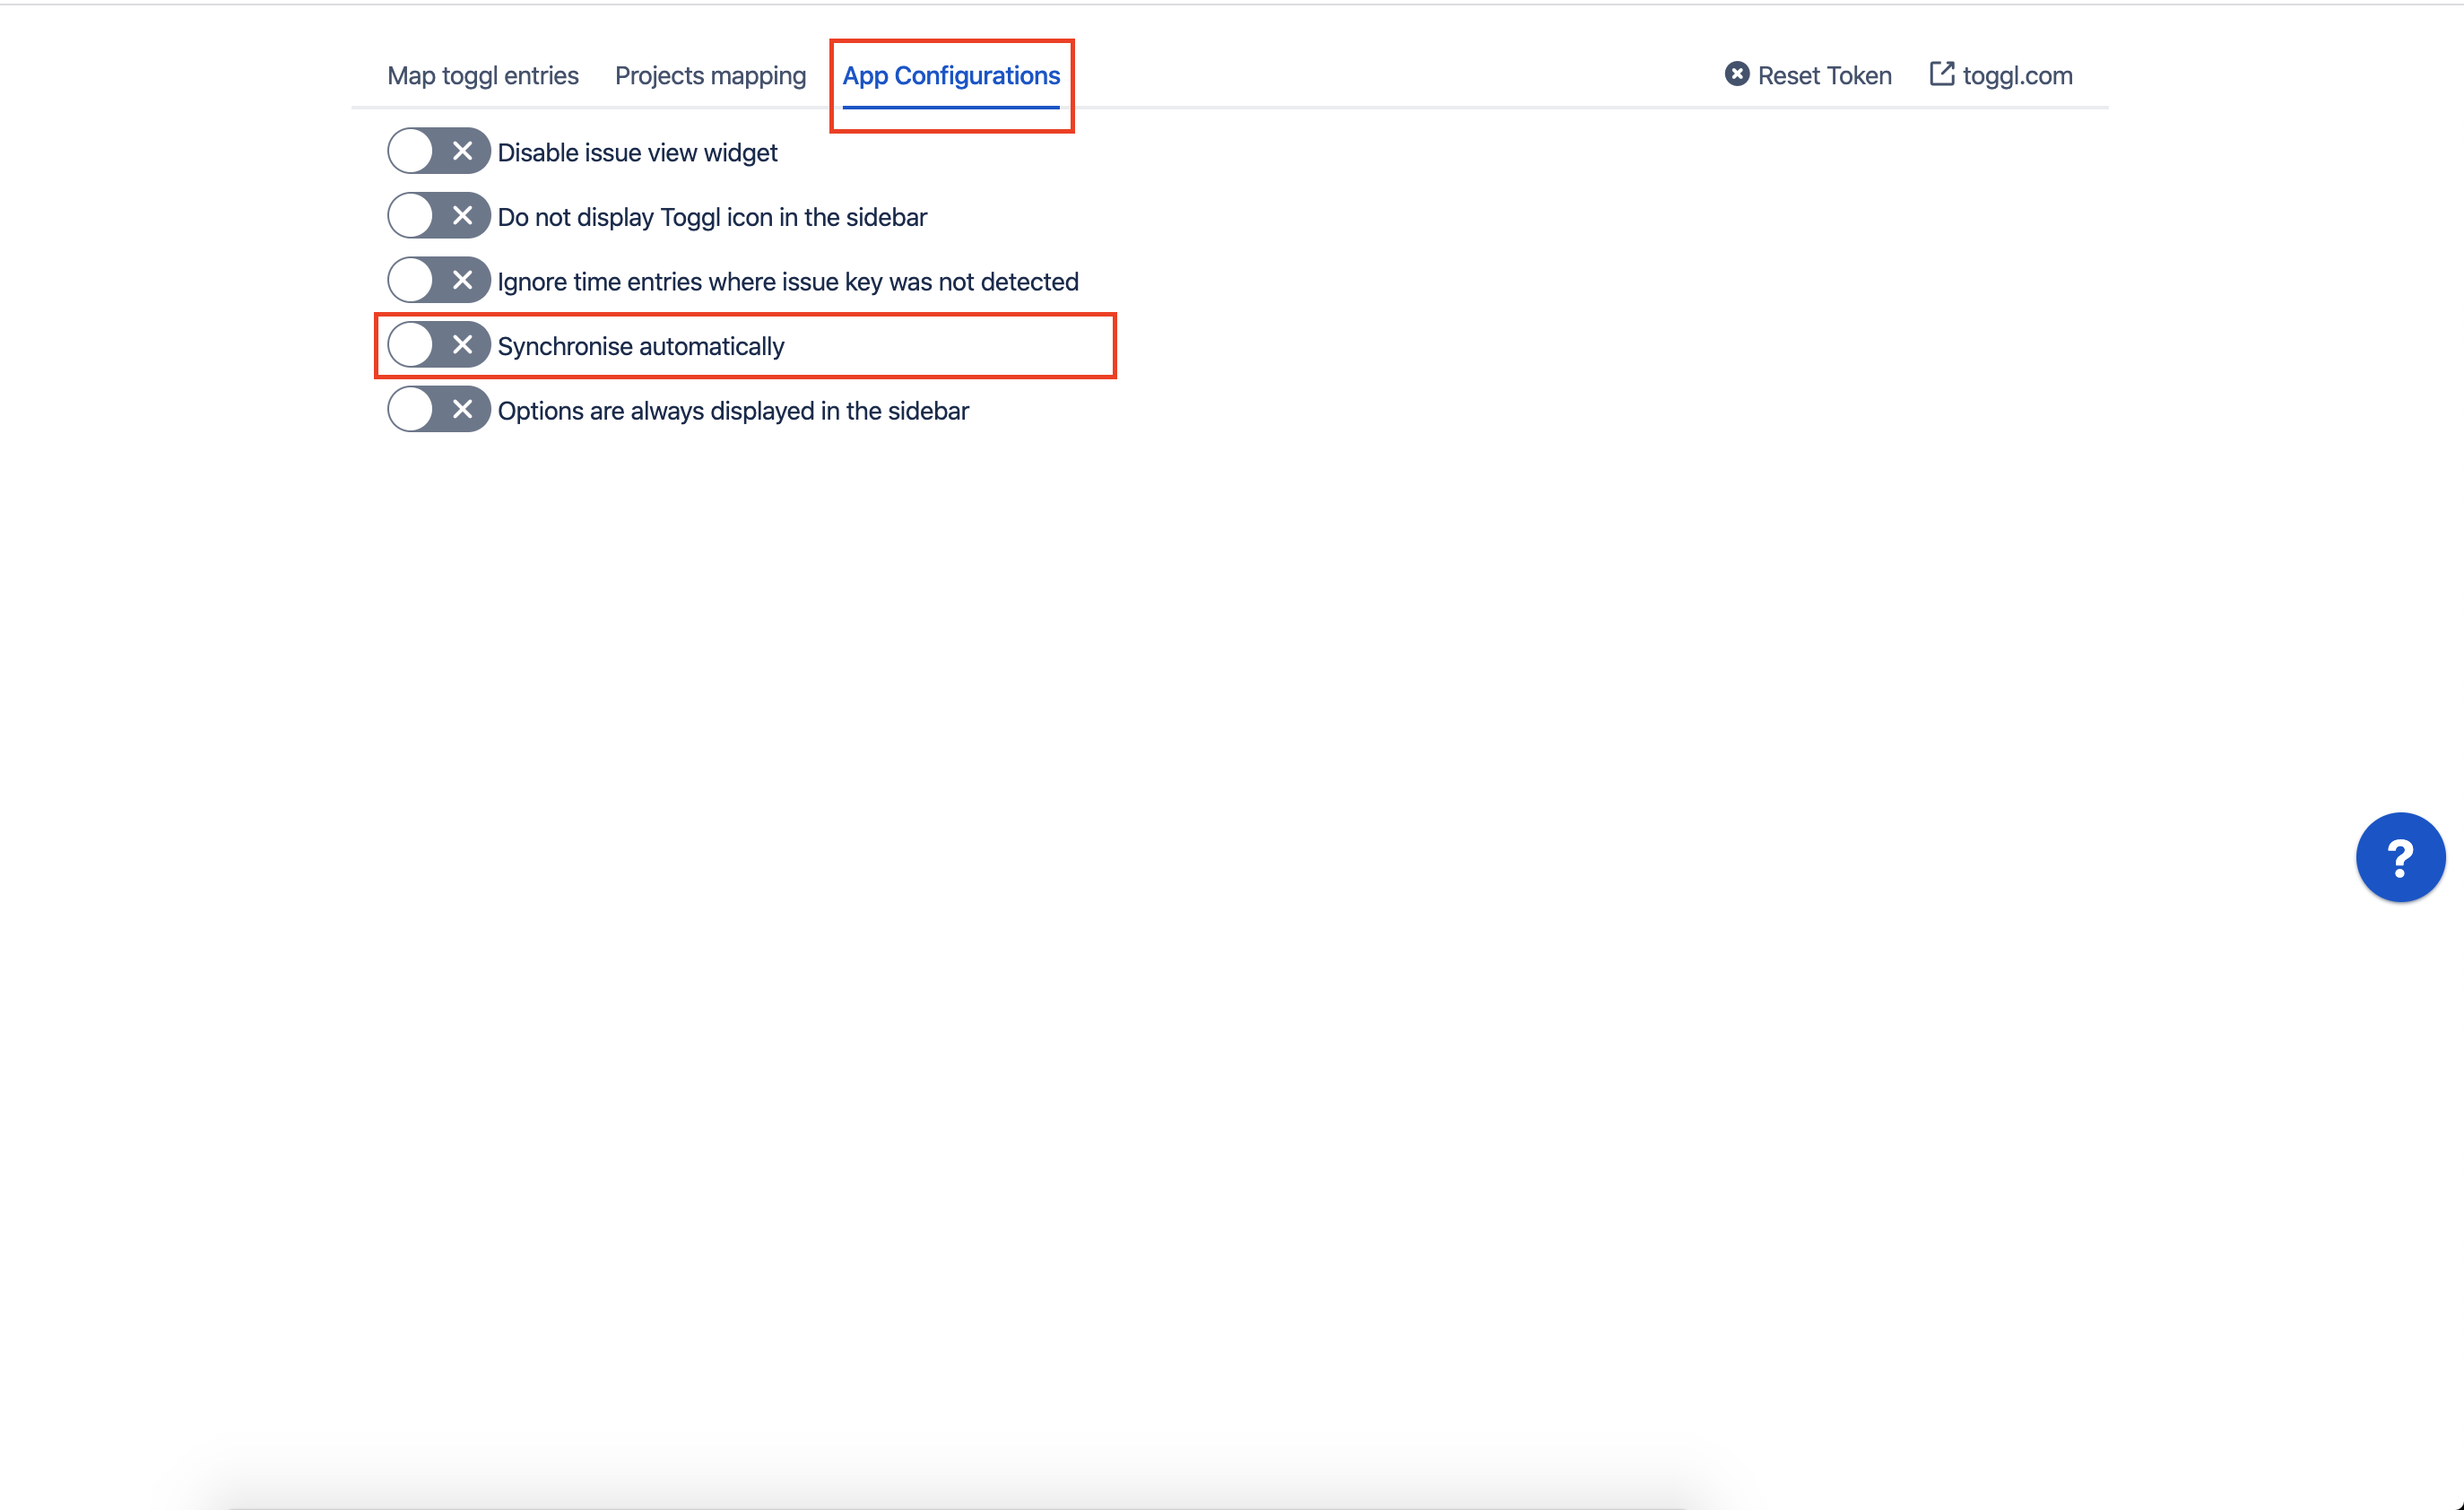
Synchronise automatically
It is possible to activate "automatically synchronisation" between Toggl time entries and Jira issues worklogs.
Once it's enabled our plugin will check for new time entries and when it's possible will sync them with Jira worklogs and such task runs each hour.
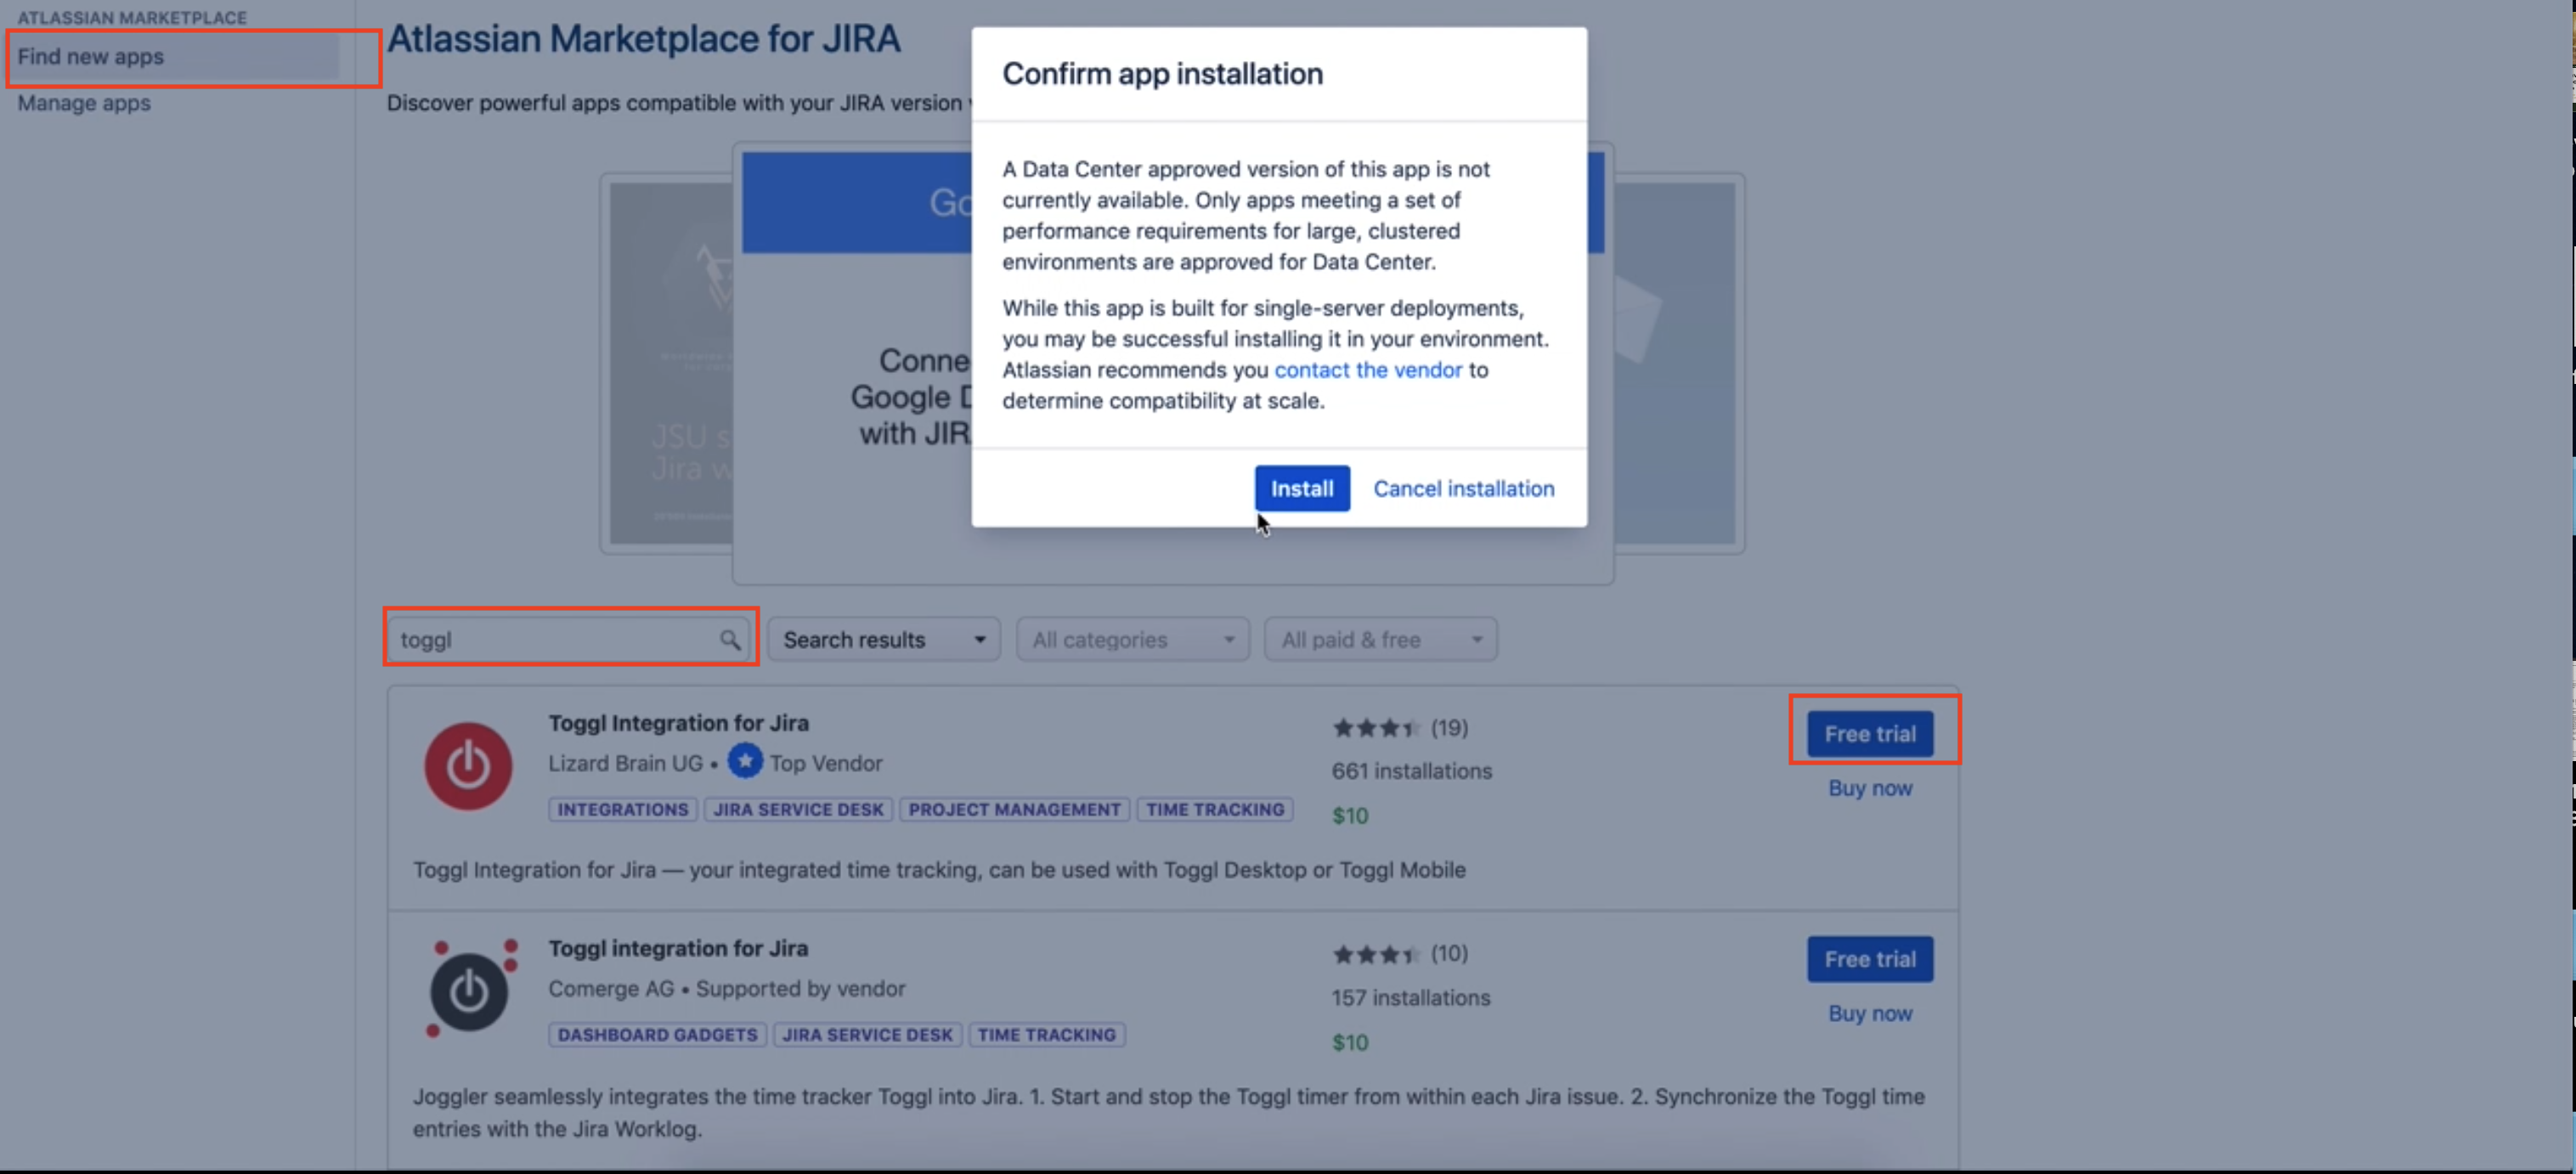
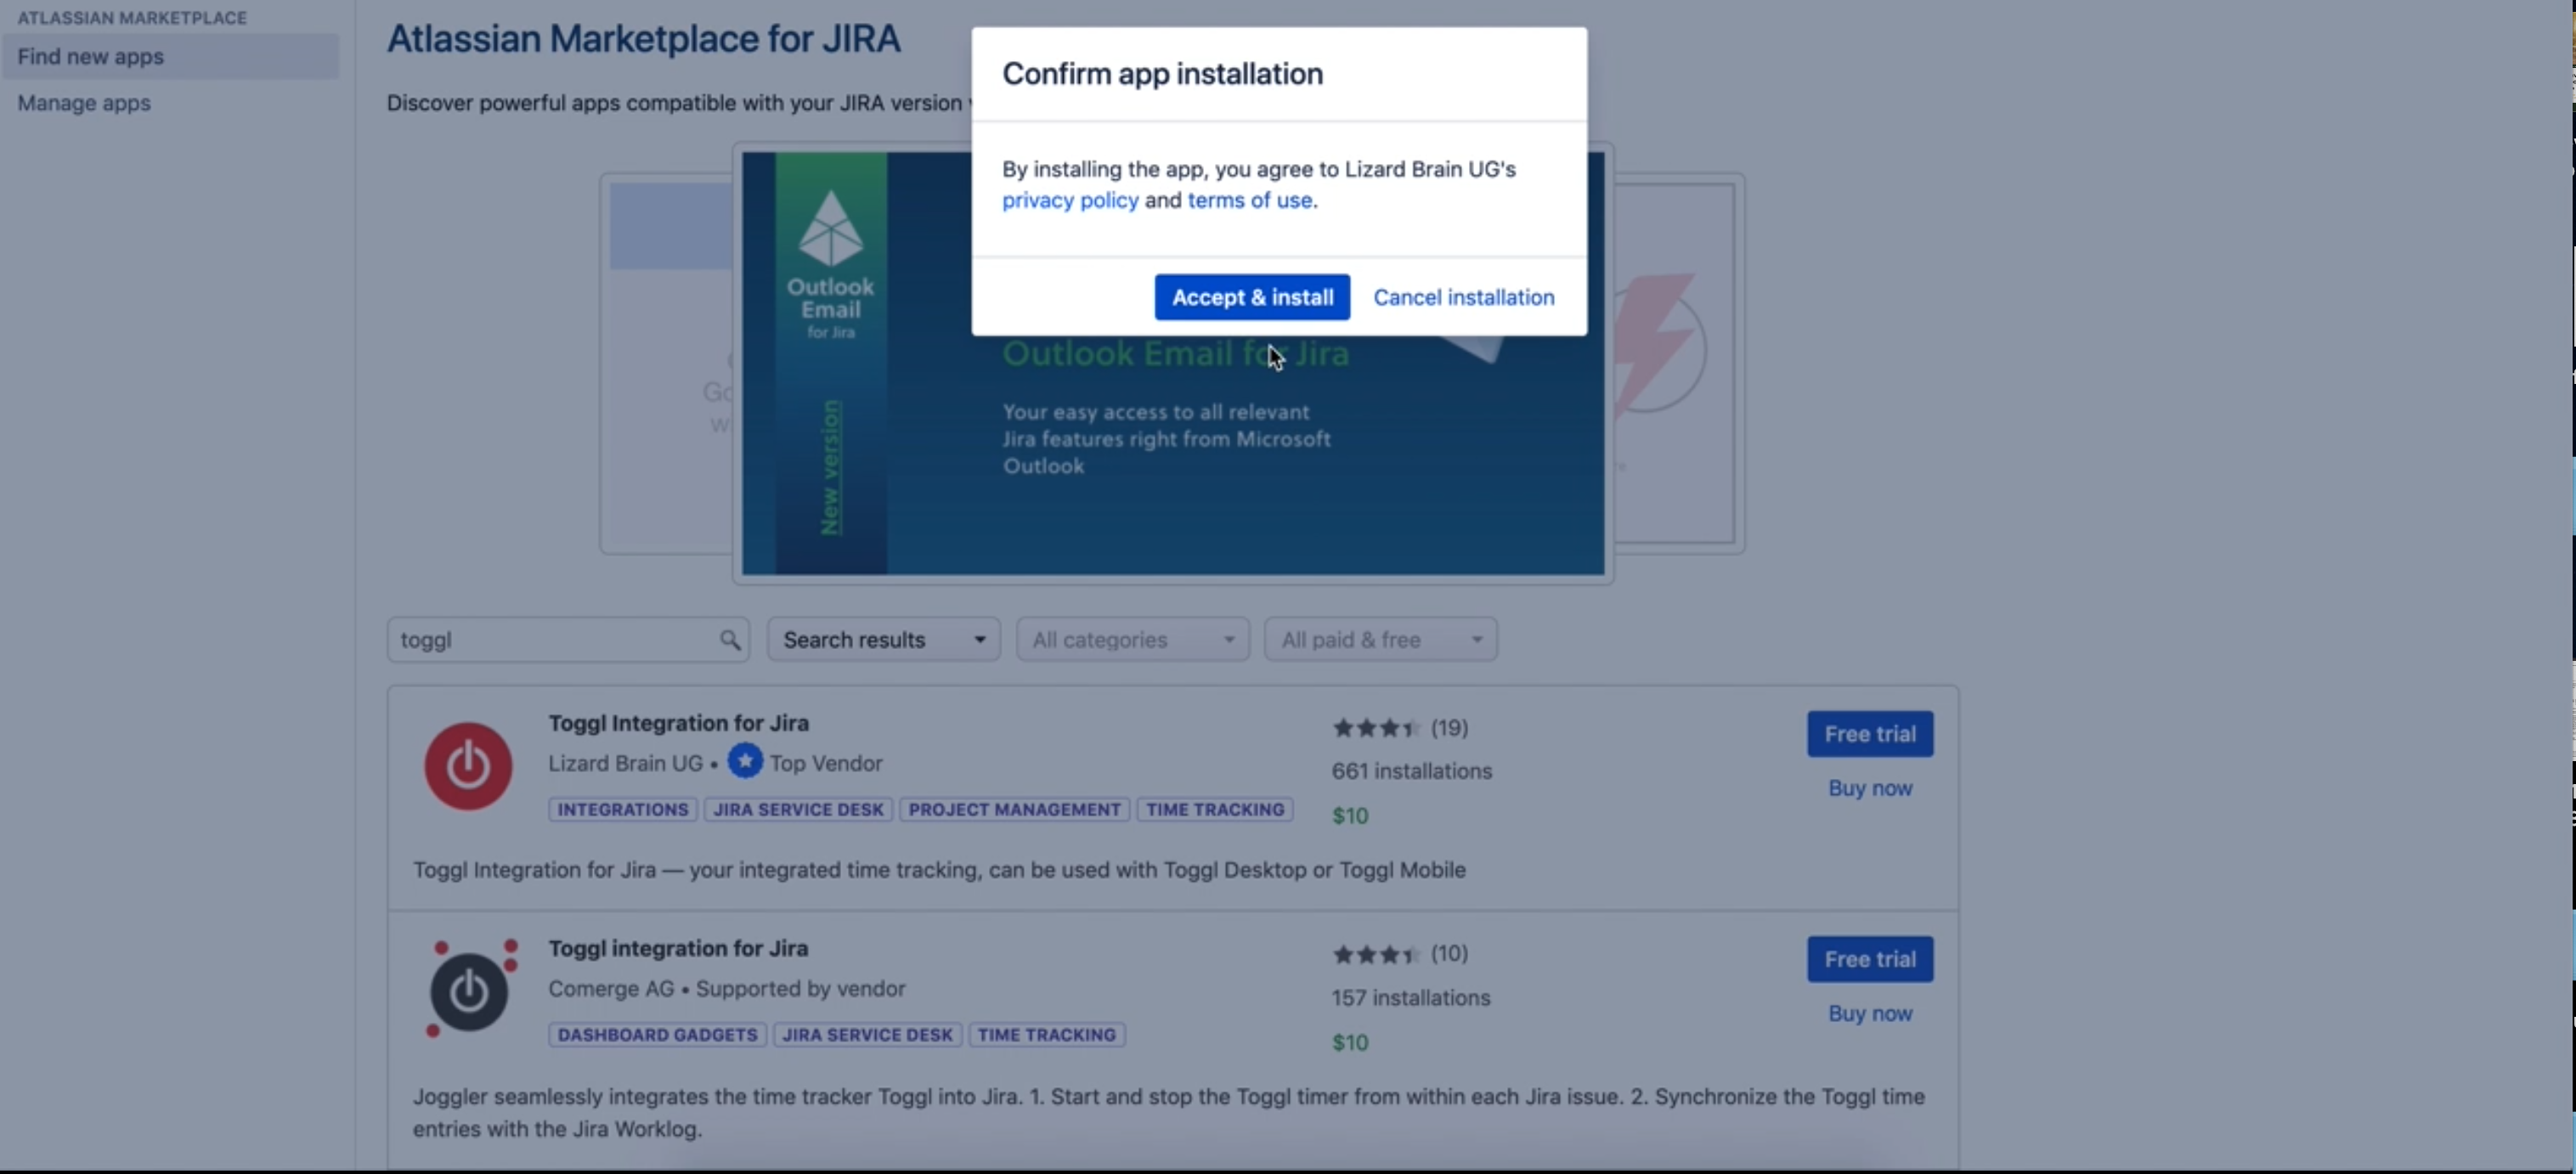
Data Center installation
Due to a very small number of requests for the Data Center distribution, we have not prioritised yet the dedicated version. However, it is still possible to install a Server plugin into your Data Center. In order to do so just find the plugin on the marketplace (Screenshot 1) and click "Install" on the "Confirm app installation" warning (Screenshot 2)