SP - Configuring Surveys for Jira
- Iryna Ihnatiuk
This section provides information on how to install and configure Surveys for Jira:
Enabling and configuring Jira outgoing emails
- Log into your Jira instance as Admin.
- Go to cog wheel and select System.

- In the Mail section, select Outgoing Mail.
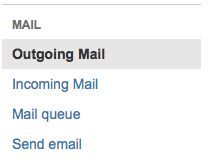
- Click Configure New SMTP Mail Server.
- Fill out the fields. For more information, see Atlassian documentation on configuring JIRA's SMTP mail server t send notifications.
As a result, you should have something like this.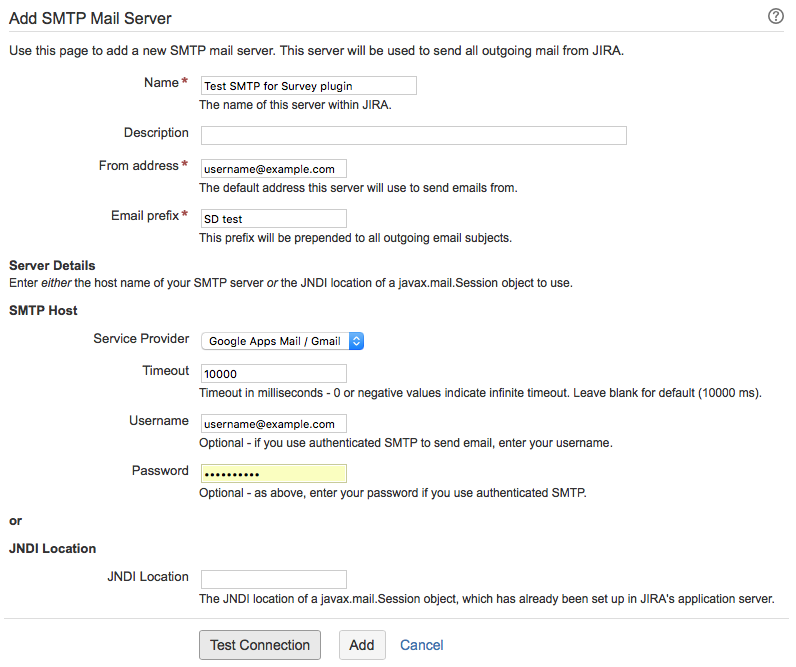
- Click Test Connection and fix values in the fields if needed.
- Click Add.
Selecting projects for surveys
Start with adding projects you'd like the survey to be enabled for. To do this:
- Log into your Jira instance as Admin.
- Go to cog wheel and select Manage apps.
- In the SURVEYS FOR JIRA section, select Configuration.
- You can opt to enable surveys for all projects across Jira or just add the necessary ones, just click Add project.
The selected projects will be displayed in the table. - Click Submit. Unless / until you click Submit, the changes on this page will not be saved.
- Once you add the projects, you can see these projects in a table.
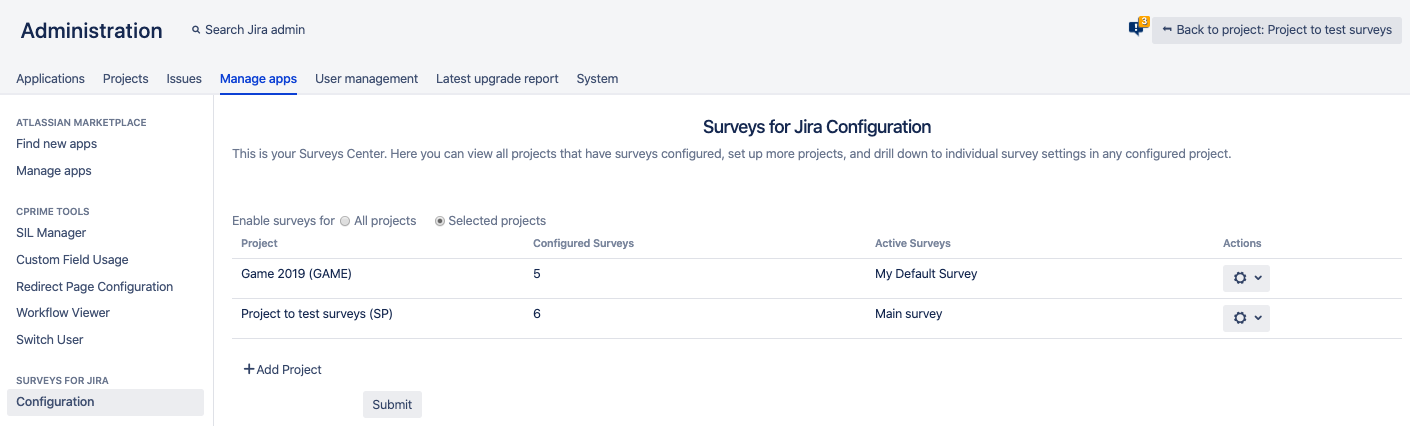
You can do the following actions in this table:
- See all projects for which the surveys are sent sent
- See the amount of surveys configured for each project.
For instance, if there is none, you might want to revisit the settings and remove that project from the ones that have a survey - Name of the active survey — Sometimes it's helpful to see what survey is currently turned on for a particular project, and if there is none, it's a good time to review that project.
- Go to the project surveys — Open the options in the cogwheel for a particular project and click Go to project surveys.
- Delete a project from this table — If you do that, then
- Surveys stop sending for that project
- Any survey elements like survey rating, tab, and reports are no longer visible in that project
- Existing data is saved and not lost or deleted
- If you select this project again, you will be able to continue working with surveys there as usual
- Once you add the projects, you can see these projects in a table.
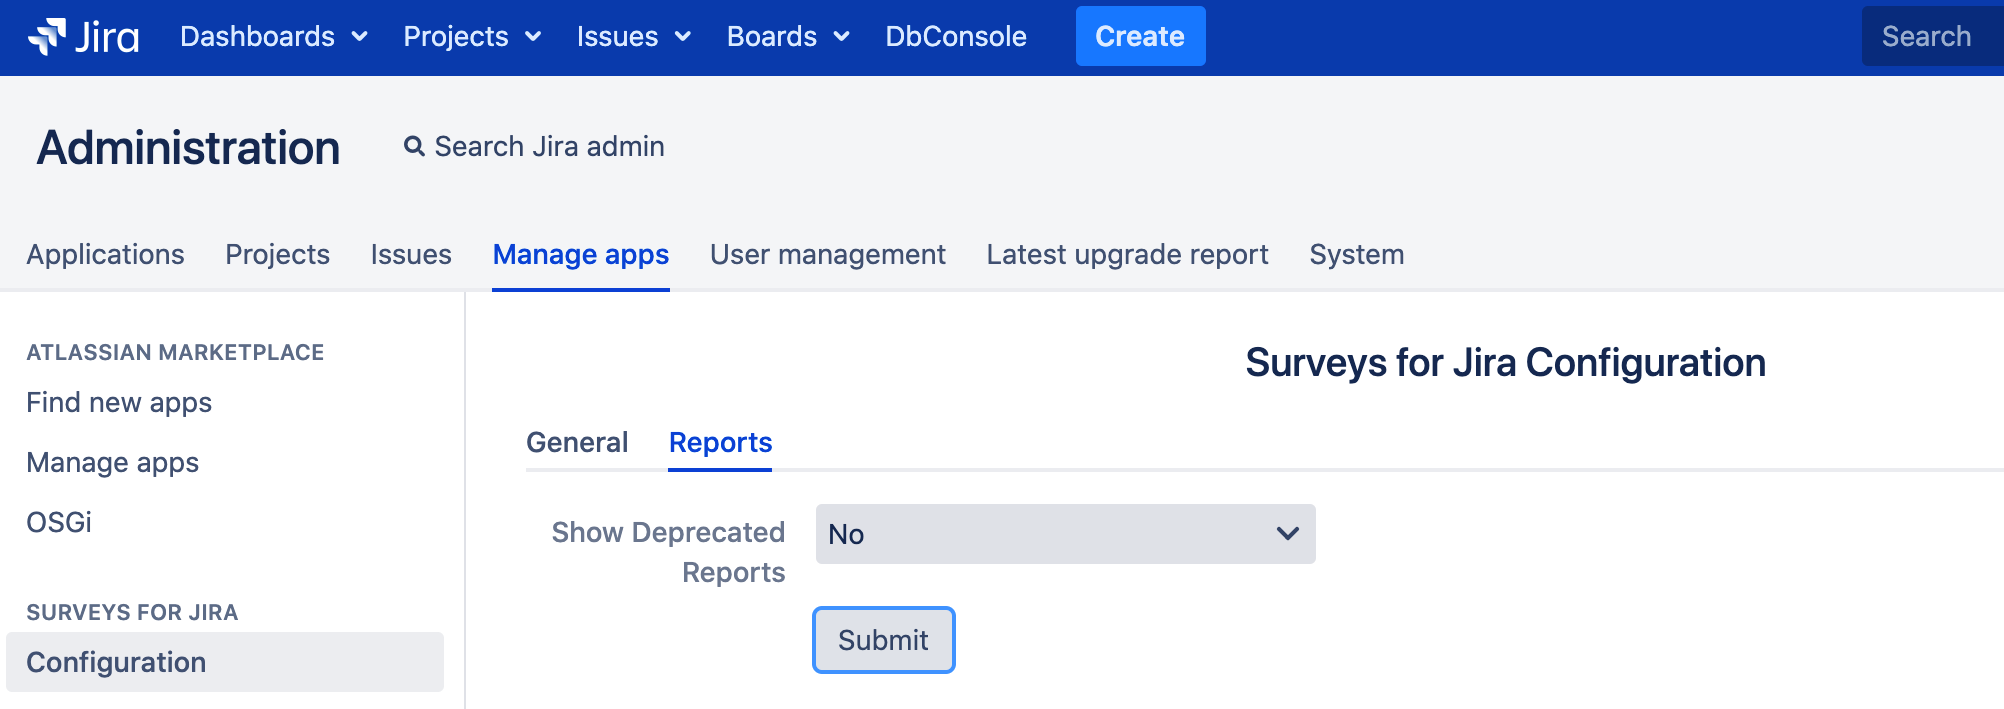
- Starting with 4.0.6 Surveys for Jira version you can manage the Deprecated reports display
After you have installed and configured your Surveys for Jira, go give it a try! See Creating a new survey.
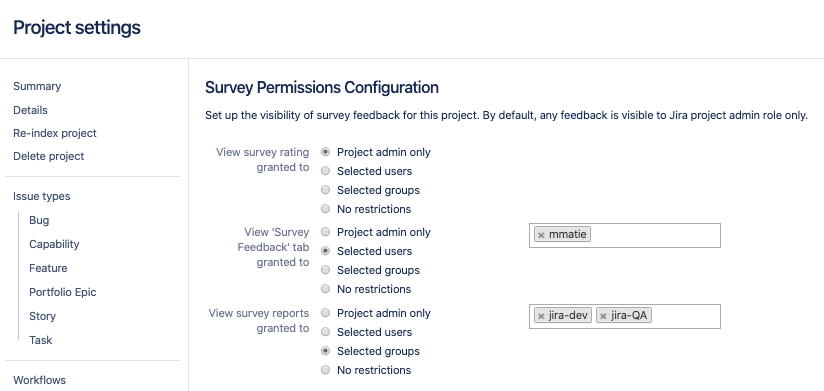
Setting up permissions to view survey reports, feedback and rating
Now, you need to set up permissions you'd like the project survey to be enabled for. To do this:
- Log into your Jira instance as Admin.
- Go to the project that you have enabled the surveys for and select Project settings.
- In the SURVEYS FOR JIRA section, select Permissions.
- Set up the visibility of survey rating, feedback and reports for this project. By default, any survey rating, feedback and reports are visible to Jira project admin role only.
Once you set up the permissions, settings will be applied to all surveys inside a given project and for this project only.
Survey Reports Configuration
Starting with version 4.0.0 we have redesigned user experience and simplified work with the plugin by improving a lot of settings.
Most of the settings on this page are moved to more relevant places.
| Action | Description |
|---|---|
| Visible for Project Administrator only | Deprecated in v4.0.0. Project permissions are handled on a separate page now. |
| Select custom report field | Deprecated in v4.0.0. Now you can define which fields to display by using columns setup in the Custom Table Report. |
| Include Issue Type | Deprecated in v4.0.0. Now you can define which fields to display by using columns setup in the Custom Table Report. |
| Select custom priority field | Deprecated in v4.0.0. Now you can define which fields to display by using columns setup in the Custom Table Report. |
| Reset historic survey data | Clears all survey metrics for the sent / received surveys. This is useful when you want to stop tracking rating progress on your older surveys and start anew. To reset report data, go to the project settings, select Reports in the SURVEYS FOR JIRA section, and click Reset historic survey data. We strongly recommend that you reset report data if you change the rates count in the active survey. |