The chat widget configuration page is the main place where you can set up the chat widget.

The configuration options are as follows:
| Add chat to customer portal | Checking this option adds the chat widget to project's customer portal, where it is visible as the icon in the lower right: |
| Allow adding chat to external web pages | Checking this option lets you place the chat widget on any web page. Actually placing the chat widget on a web page requires modifying the page's source. You need to place there the HTML code in the gray box below the checkbox |
| Allow anonymous access | Checking this checkbox allows customers to chat with you from an external web page without logging in - they will be visible to you as Anonymous Chat User. If this checkbox is cleared, users will be required to log in (or register - see below) before starting a chat |
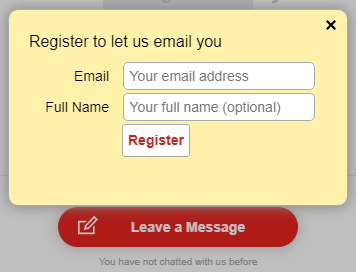
| Allow users to register in your Service Desk using the chat widget | Checking this checkbox allows your customers to register in your Service Desk directly from the chat widget. They will be presented with this dialog in order to register:
|
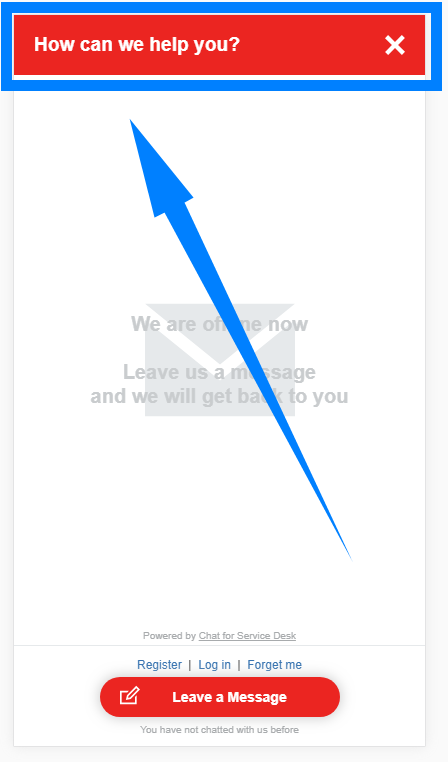
| Welcome message | This text entry box lets you customize the message displayed to the user in the chat's header:
and in the "welcome ribbon" for new users:
Other chat text customizations are done globally (not per project) in the Translate and Customize Chat configuration page |
| Knowledge Base | Options for Knowledge Base Integration |