Overview
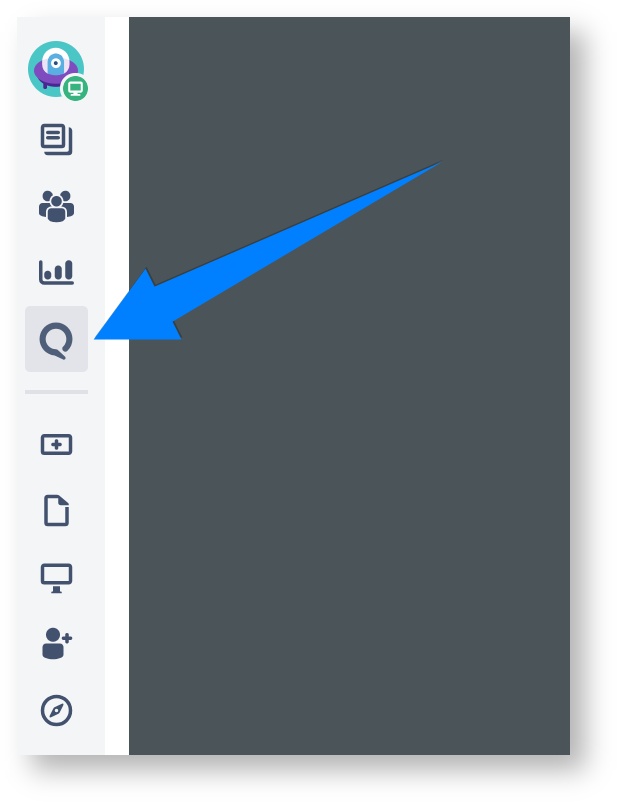
You can access the Chat Dashboard page, where all your project's chats are located, by clicking the icon in the project's left navigation panel:
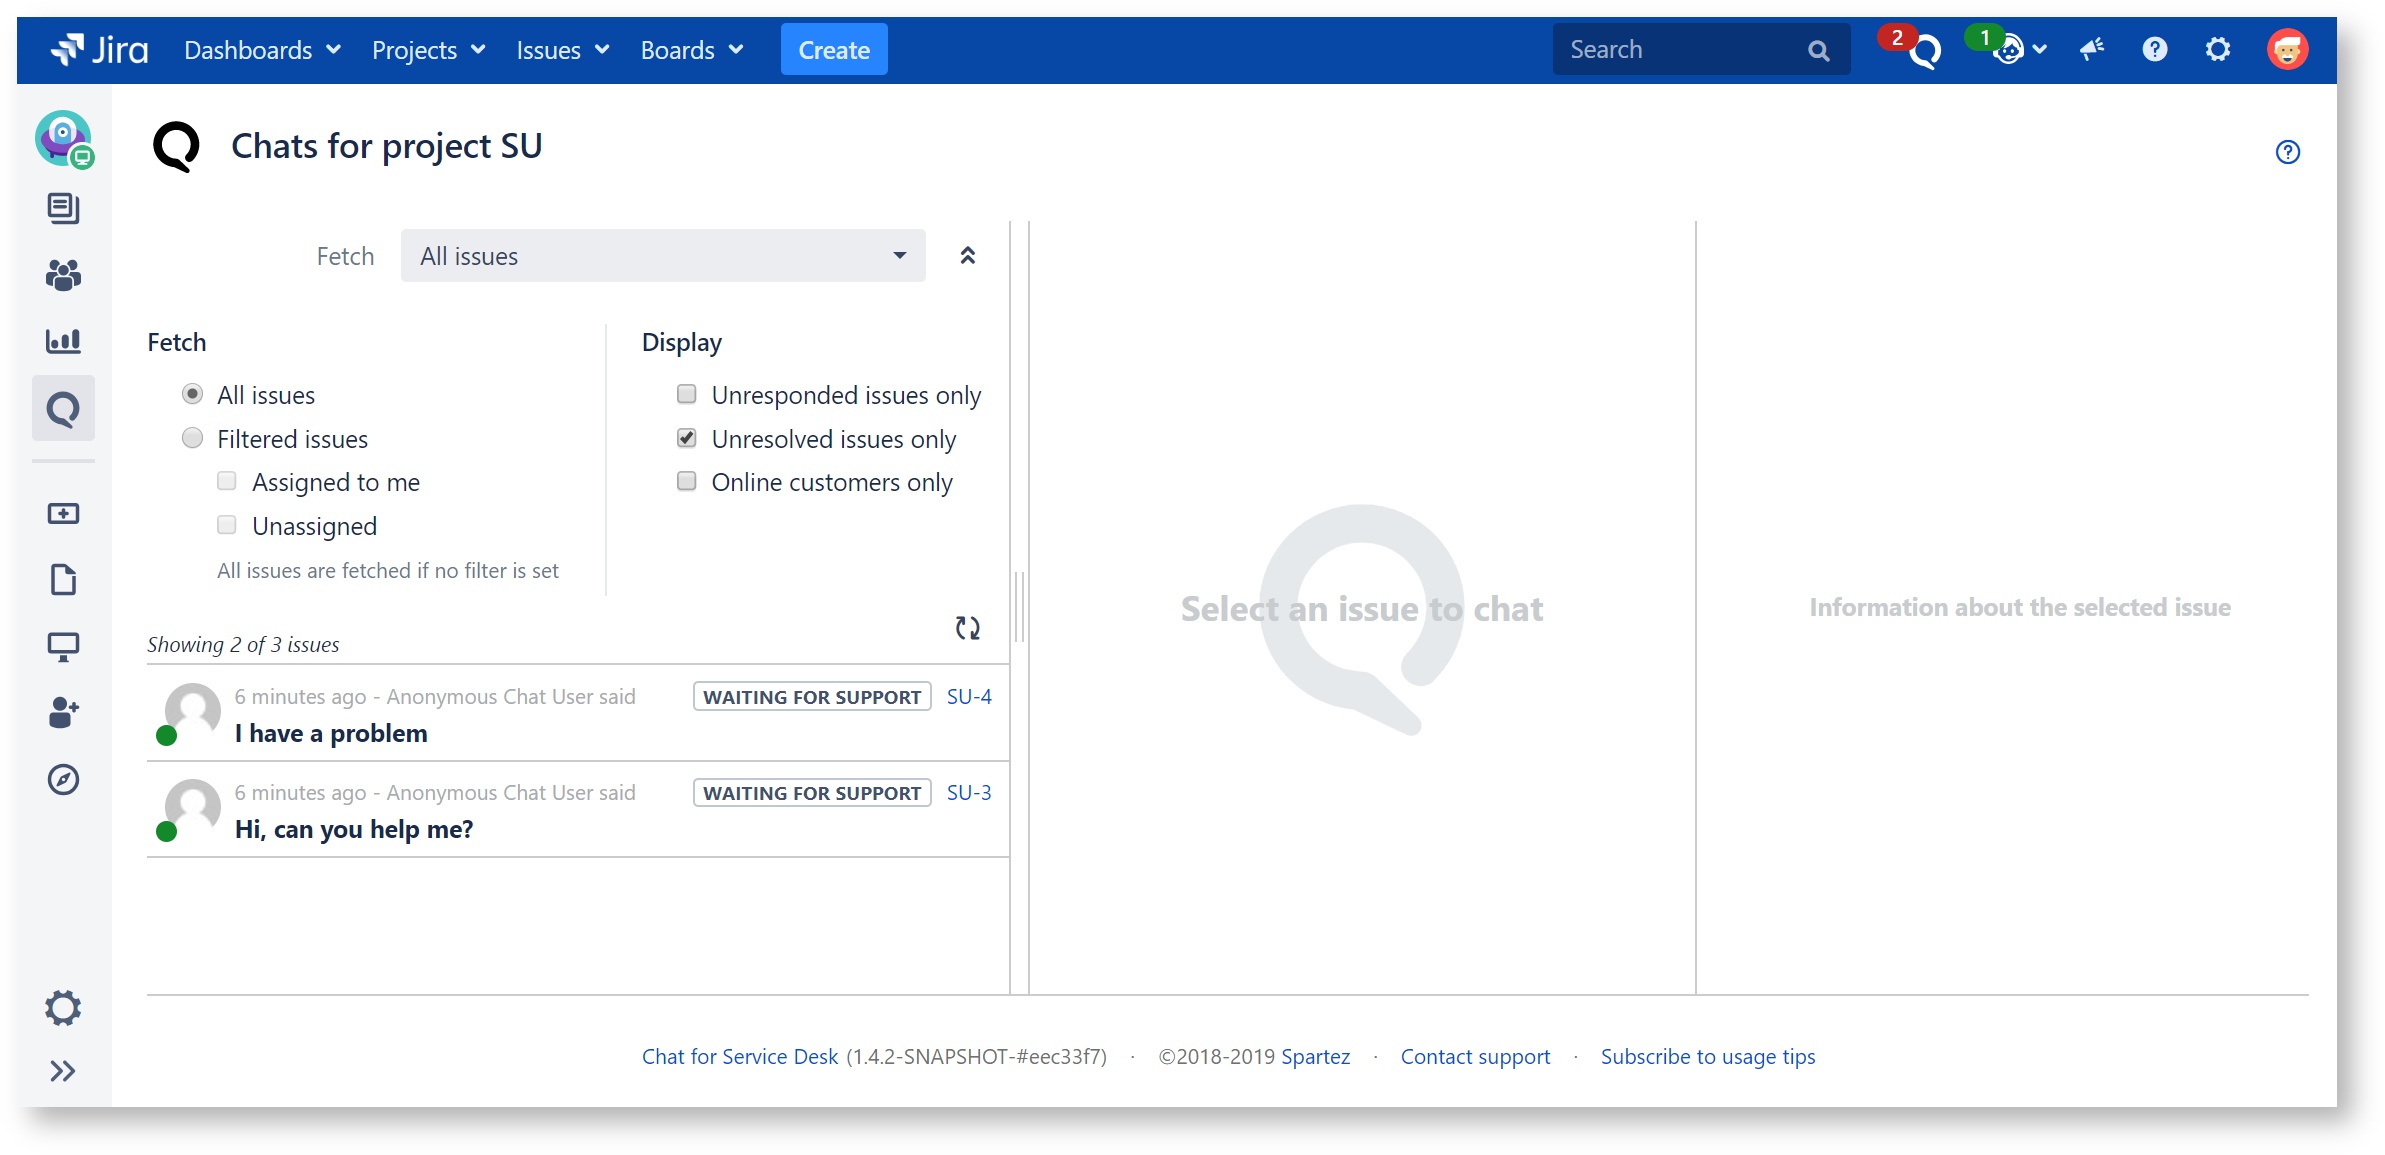
This opens a page, which is organized into three vertical areas:
- chats list
- chat panel
- chat data
Each of these is described below.
Chats List
This panel lets you view chats in your project. You can filter thats that you are interested in using various criteria, such as:
- chats not older than a certain time
- chats assigned to you
- unassigned chats
- unresponded chats
- unresolved chats
- only chats for customers who are online
The list is sorted by last updated time, so that chats with newest messages are on top.
Filtering criteria are persisted across page reloads, so that you get your last filter settings when you come back to the page.
The list is updated in real time, as customers create new chats or post new messages.

Each chat is represented as a line in the list. The line contains the following information:
- customer who started the chat - represented as an avatar on the left
- online/offline status circle - green for online customers, white for offline ones:


- user who last spoke in the chat and when
- last message - displayed in bold for unresponded chats
- chat's issue status for unresolved issues or resolution for resolved ones
- chat's issue key
Clicking the line in the chats list opens the chat panel for that chat and the chat data panel for it.
Chat Panel
Chat panel lets you respond toi the customer using a familiar chat view:
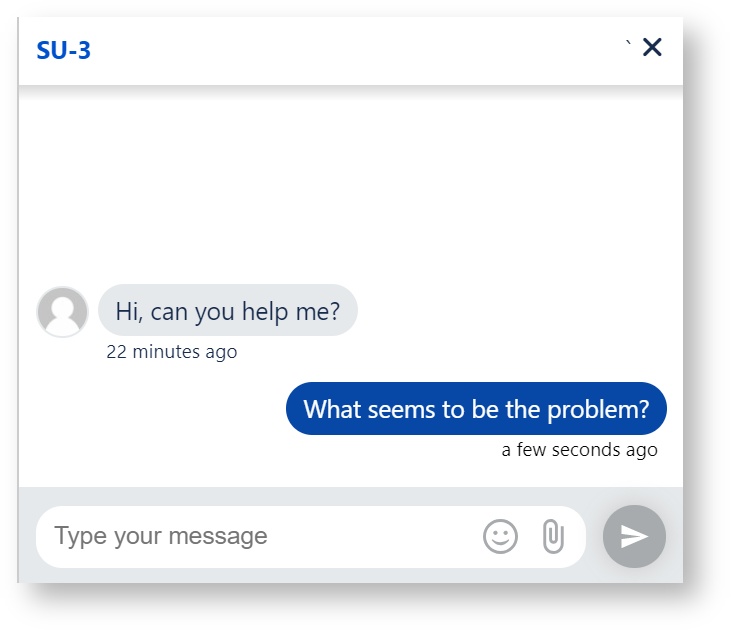
Note that posting a message to chat in effect always produces an issue comment, so it does not matter whether you respond to the customer using chat interface or a regular issue page comment - the result is the same.