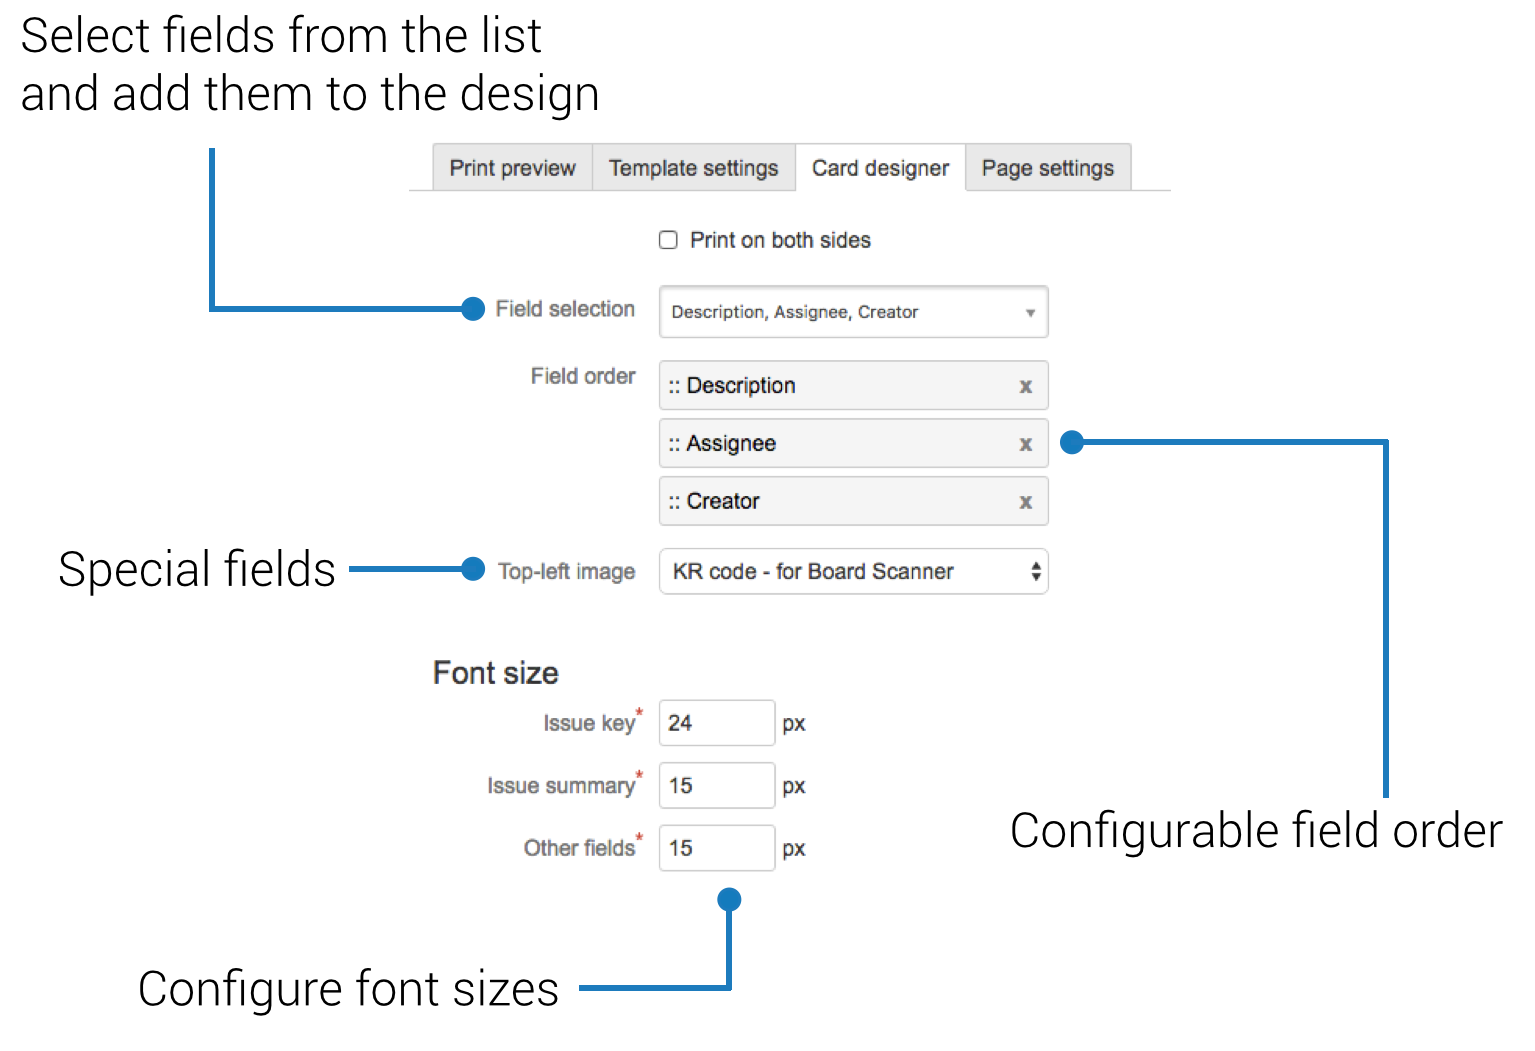
Fields list
Simple layout screen lets you define which fields and in what order appear on a card. You can check two side printing option to see the list of fields that will be printed on a reverse side of a card. All standard and custom fields are available on both of these lists. Remember that many custom fields that come with third-party plugins may be printed incorrectly - in each such case please let us know at support@spartez.com so we can check if there is a possibility to support this field in future versions of Agile Cards plugin.
Upper left image
KR code for board scanner or QR code containing an issue URL or issue key can be printed on card. There are also options to show issue icon type or to don't show any icon at all.
Font size
Font size settings are available for the issue's key, summary and the remaining text within the fields. Each field except issue key and summary will have the same font size.
...
| Info |
|---|
This part of Agile Cards' interface is only accessible for Jira Admins and Project Admins. |
If you choose the Simple Card Layout on "General settings" tab you will get a much simplified version of template editor.
This tab allows you to specify the content and order of the of individual cards.
Fields selection
In order to add fields to the canvas you need to select them from the dropdown list. Check the checkbox next to the field name and it will get added to the design.
Select the "Print on both sides" to design both the front as well as the back side of the cards. The two columns with fields will allow you to configure the front and back views of your cards
Field order
Selected fields can be re-arranged on the canvas. In order to change the fields' order drag and drop the field to its desired position. Click the "X" icon next to the field name to quickly remove the field from the list.
Top-left image
In addition to fields it is also possible to select the unique content in the top-left corner of the card. You can select between:
- Issue type icon - the same icon which you normally see on Jira screens
- Assignee - the avatar of the person assigned to the issue
- QR code - generic QR codes scannable by any QR code scanner, allowing you to encode issue key or the full URL to Issue View page in Jira
- KR code - codes required by Agile Cards Scanner to properly identify cards on the physical board: read more about it here.
Font size
This setting allows you to control the font sizes used for fields' rendering on the cards.
Difference between QR codes and KR codes
There are two special types of fields which you can use on your design: QR Codes and KR codes.
QR codes are a graphical representation of the URL. Most of the mobile devices come with a QR code scanner allowing the users to open even the complex URLs comfortably without the need of tedious address typing in the browser's address bar. QR codes available with Agile Cards will allow you to add a simple link to your issue page. So that in case you needed a quick look at some of the details which are not on the card itself you could use your mobile device to access Jira easily and fast.
KR codes are the special codes created by us to allow for the Agile Cards scanner to recognise multiple cards at the same time. Read this blog post on our web page to learn about how we developed this technology. KR codes are required if you want to use Agile Cards Scanner, but will not be useful if you decide to not scan your board. All the example templates available with Agile Cards 4.0.0 and later releases come with KR codes out of the box.
Next:Have you configured all the aspects of your cards' look and feel? Great! It means you are ready to print them. Not sure? See what else you can configure. |

