| Table of Contents | ||||||||||||
|---|---|---|---|---|---|---|---|---|---|---|---|---|
|
| Excerpt | ||
|---|---|---|
| ||
Get up and running in minutes with Dashboard Hub |
| Info |
|---|
New integration with BigPicture! |
| Include Page | ||
|---|---|---|
|
Overview
https://www.youtube.com/embed/9_0mYQMdTn8The Dashboard Hub family
How to Install Dashboard Hub for Bitbucket
| Note |
|---|
As of 2023, the The Cloud version requires will require a paid subscription. |
See it in the Marketplace:
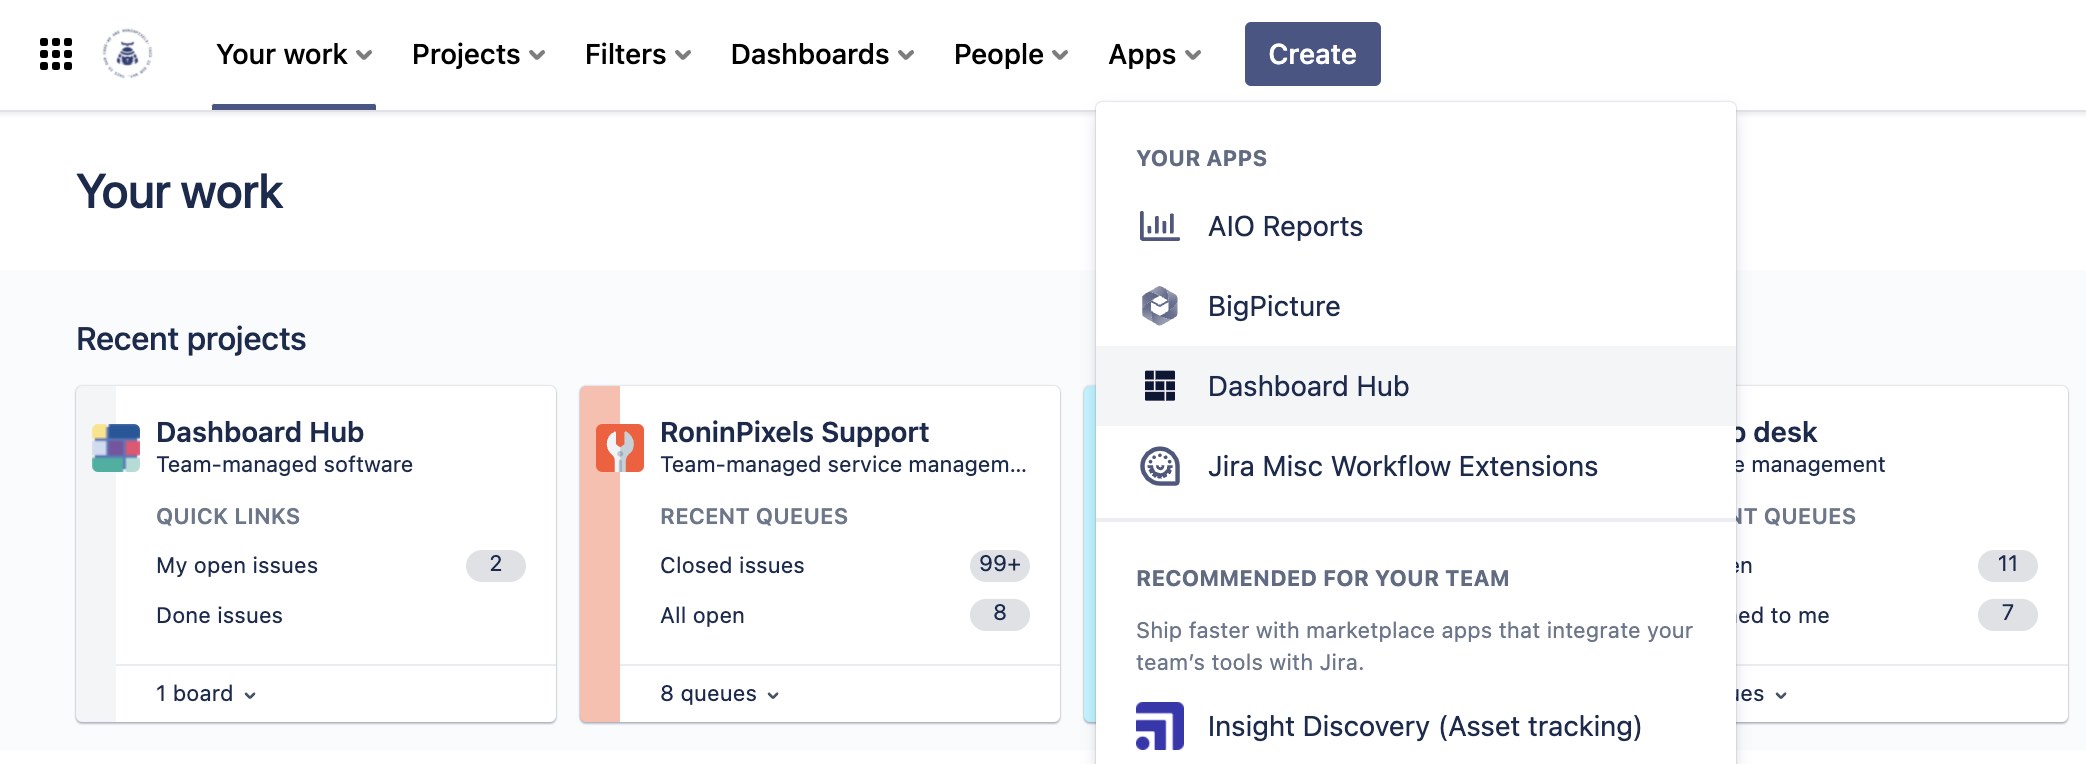
Right after installing Dashboard Hub (see How to Install Dashboard Hub Pro), go straight to the Apps menu in the Jira top navigation bar, and select Dashboard Hub. This is the main screen, where you can create, view or share your dashboards (What is a Dashboard?). Let’s see how it’s done.
Protip! Bookmark your dashboard using the Ctrl+D or Command+D (⌘+D) in Mac, for a quick access the next time ![]()
Creating your first dashboard
You can quickly create your own dashboard to display the information your team and you need:
At the top right select the … menu
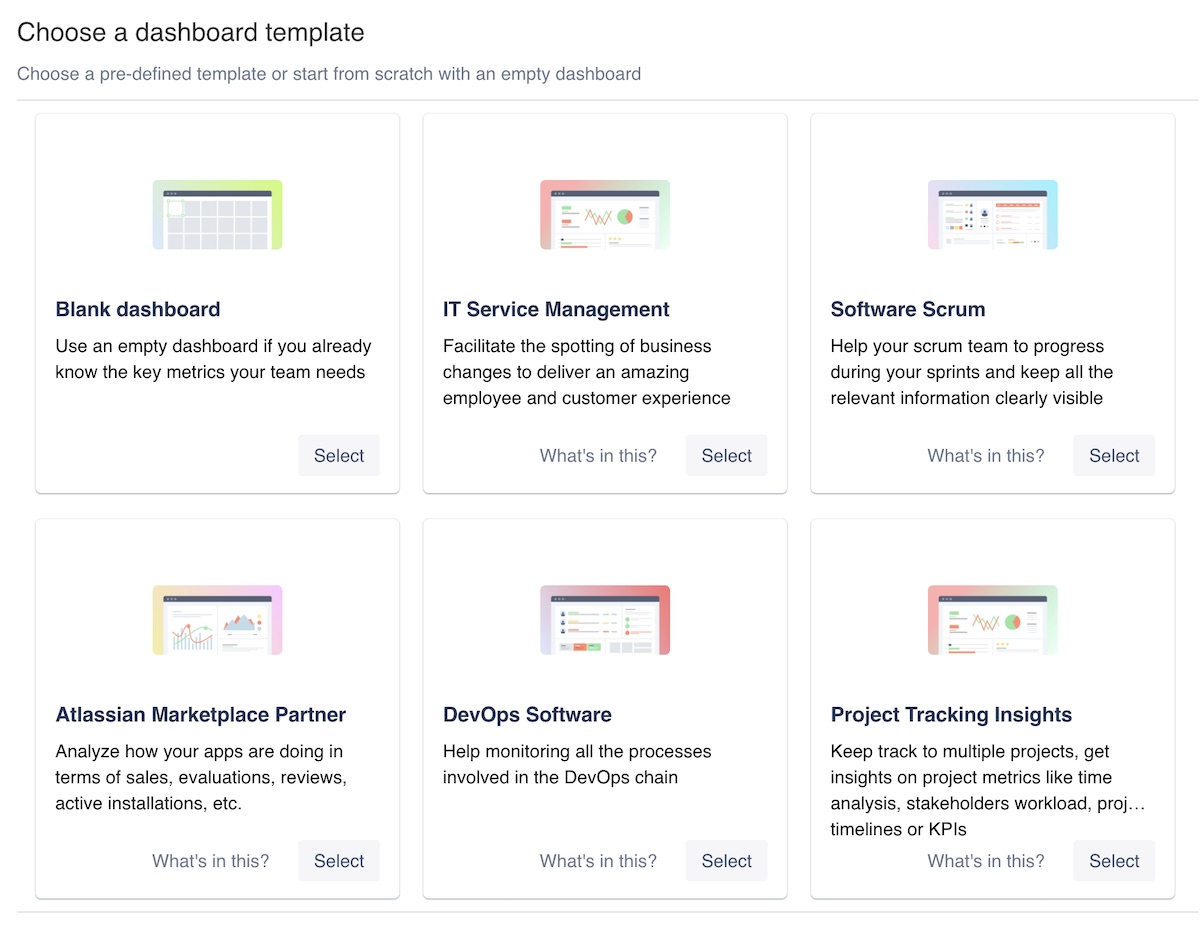
Select Create Dashboard to create a blank dashboard or use one of the provided templates. In this menu you’ll find (as soon as you have at least one dashboard created) several other options like Clone Dashboard or Delete Dashboards among others.
Name, describe and set the access restriction for your dashboard.
In the next screen, select whether you want to start with a blank template or select one of the provided templates.
Click Create.
You can find further information in Create, Edit, Clone, Delete and Export your Dashboard.
Configuring your first dashboard
The main components of a dashboard are the gadgets (see What is a Gadget?), which are basically the elements that display the information you need, in the format you want. These gadgets have to be configured with a datasource (see Add and Manage Datasources and Learn about Datasources), which is the element that connects the tool you extract the information from (or where the data is).
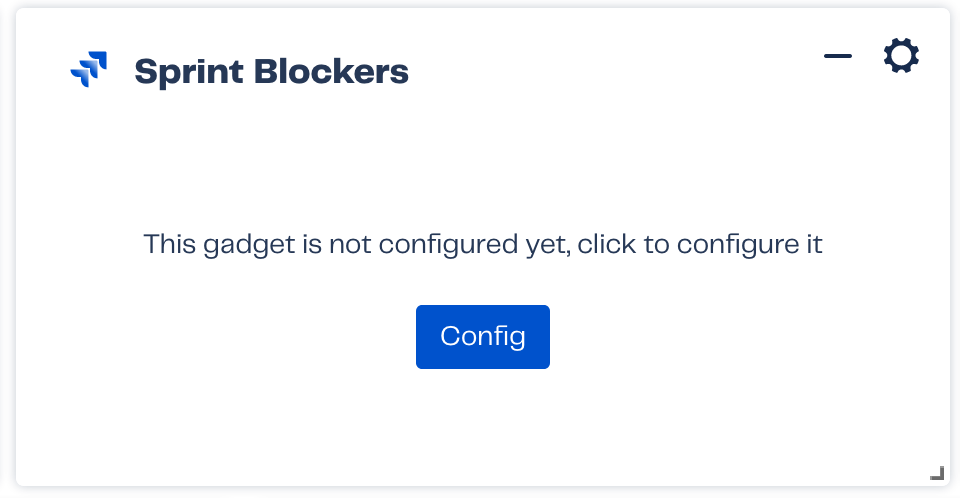
If a gadget is not configured (as it is when you first add one):
Click on the ⚙ to open the configuration menu, or click on the Config button.
Name your gadget.
Select a datasource, Current for the default datasource of the current instance, or any other (see Add and Manage Datasources).
Indicate if you want to use the current gadget configuration for compatible gadgets still without configuration.
Click Save.
How to create and share a Dashboard for Jira in less than a minute
| Widget Connector | ||||||||||
|---|---|---|---|---|---|---|---|---|---|---|
|
Next steps
We recommend you these readings:
Create, Edit, Clone, Delete and Export your Dashboard and Add and Configure Gadgets
Check also the different dashboards templates, pretty sure there’s something you’ll use Dashboard Templates: Teams and Use Cases
Well, writing this documentation took us time, so… why don’t you keep on reading interesting things like Dashboard Gadgets: KPIs and Metrics, Set Up a Wallboard or Manage Permissions on Dashboards
| Include Page | ||
|---|---|---|
|
See also
| Filter by label (Content by label) | ||||||||||||
|---|---|---|---|---|---|---|---|---|---|---|---|---|
|