Live Fields Configuration
Looking for the documentation on the newest versions of Power Scripts for Jira 8 for Server/Data Center? Click here !
You can make your Jira fields do basically anything at any point of time, just add and set up Live Fields configuration and associate it with a project.
Adding and setting up Live Fields configuration
- Log into your Jira as Admin.
- Go to Administration > Add-ons > Live Fields.
- To add a live fields configuration, click Add Live Fields.
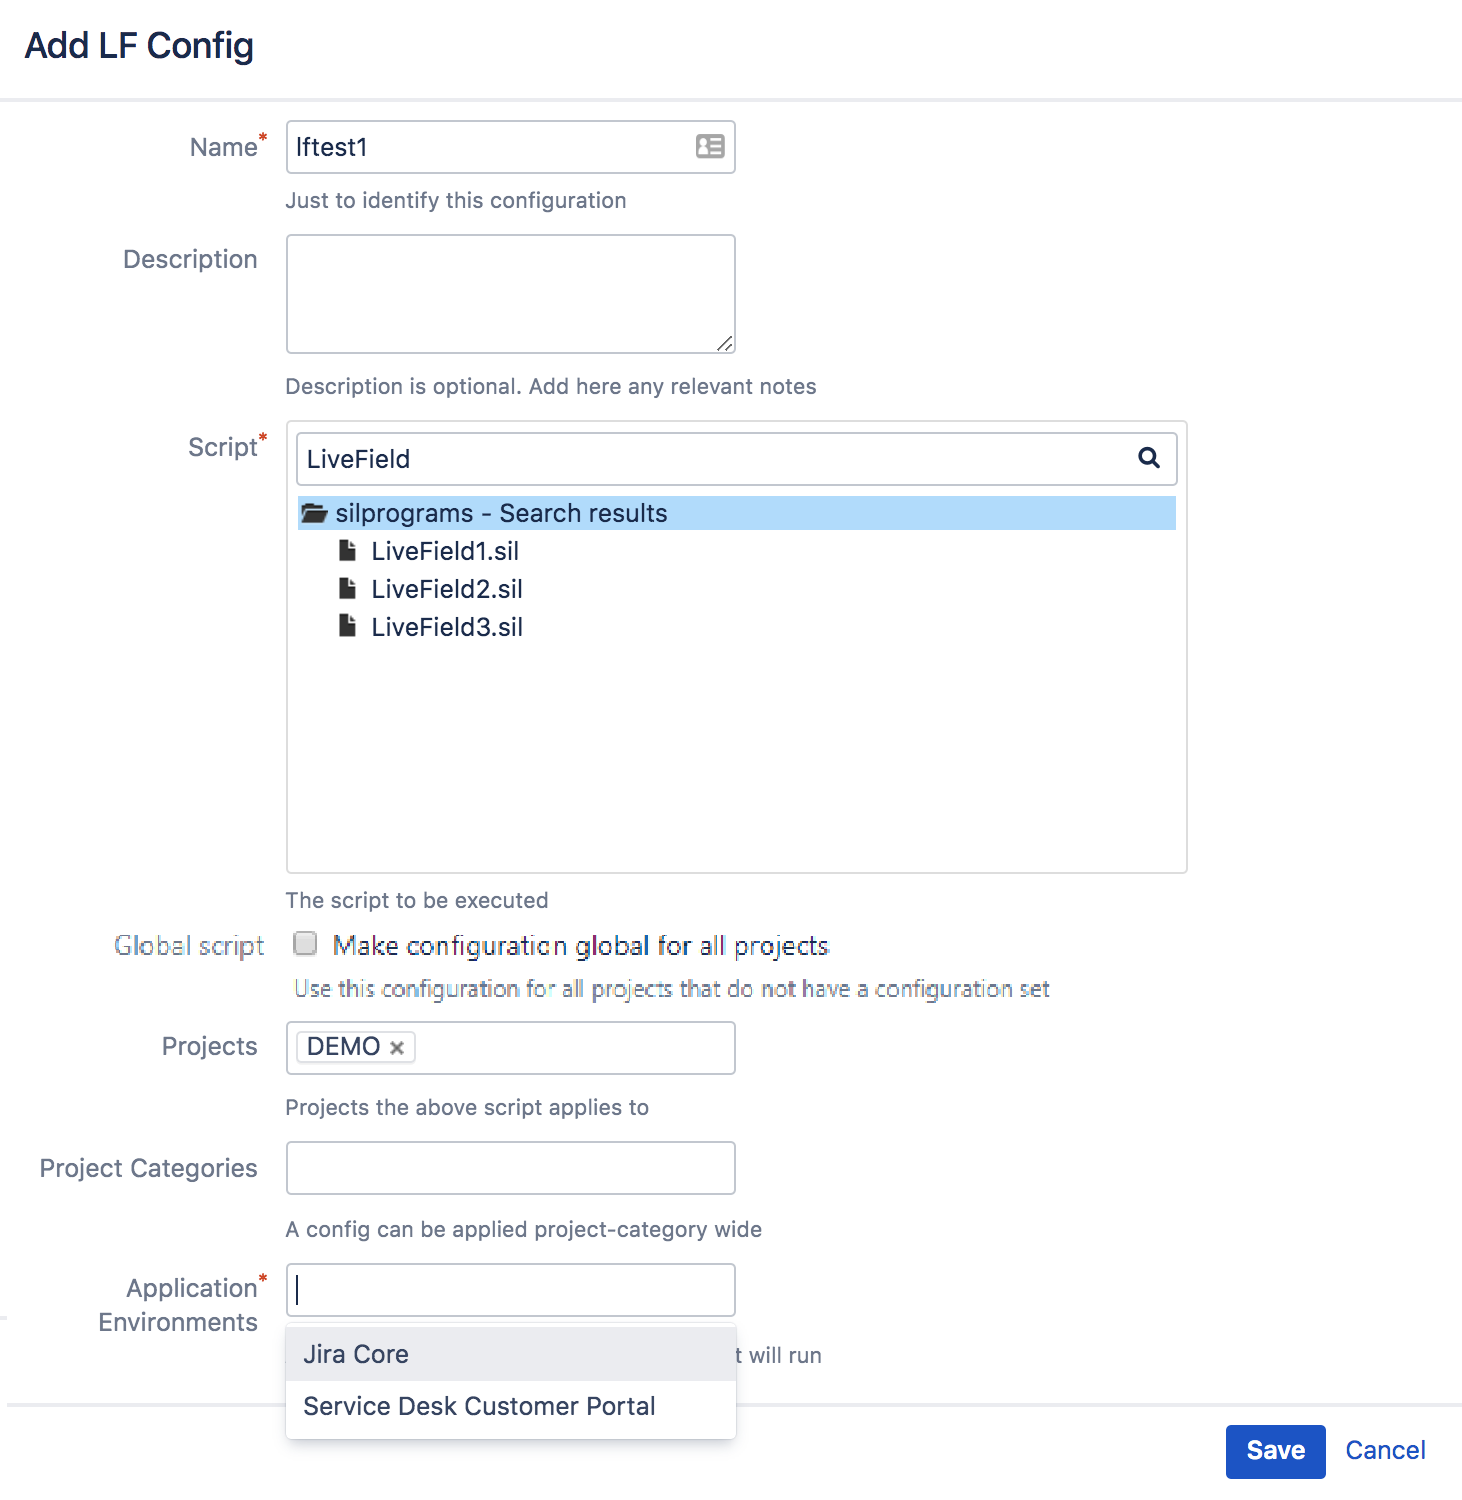
- In the dialog box, fill out the necessary fields:
- Enter the configuration name and description.
- Select a SIL file for the live fields configuration. This is a SIL script that will be executed on every issue page for the associated projects.
- Select the necessary projects or project categories to associate with the configuration.
- Select the application environments to which you wish to apply Live Fields.
Global Scripts
Beginning with Power Scripts version 4.6.4, we have added the option to make a Live Fields configuration global for all projects that don't have a explicit Configuration set. If you select the 'Global script' option, then the 'Projects' and 'Project categories' inputs will be disabled.
Application Environments
Beginning with Power Scripts version 4.6.0, we have added support for Jira Service Desk. As such, you are now required to specify the application environments to which Live Fields apply (see screenshot below).
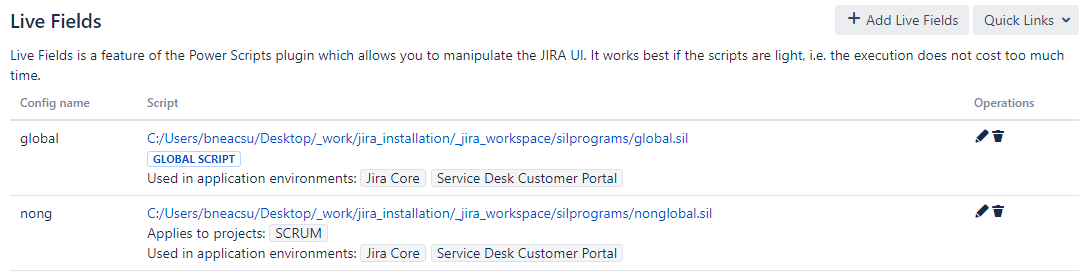
You can edit and remove a configuration by clicking the Edit/Delete icon on the Live Fields configuration page.
Precedence in applying LiveFields
Note that a Project LF configuration takes precedence over a Project Category LF configuration, if they happen to overlap.
Also, if the Global script configuration is created, and a project doesn't have a configuration assigned, the Global configuration will be applied to that project.